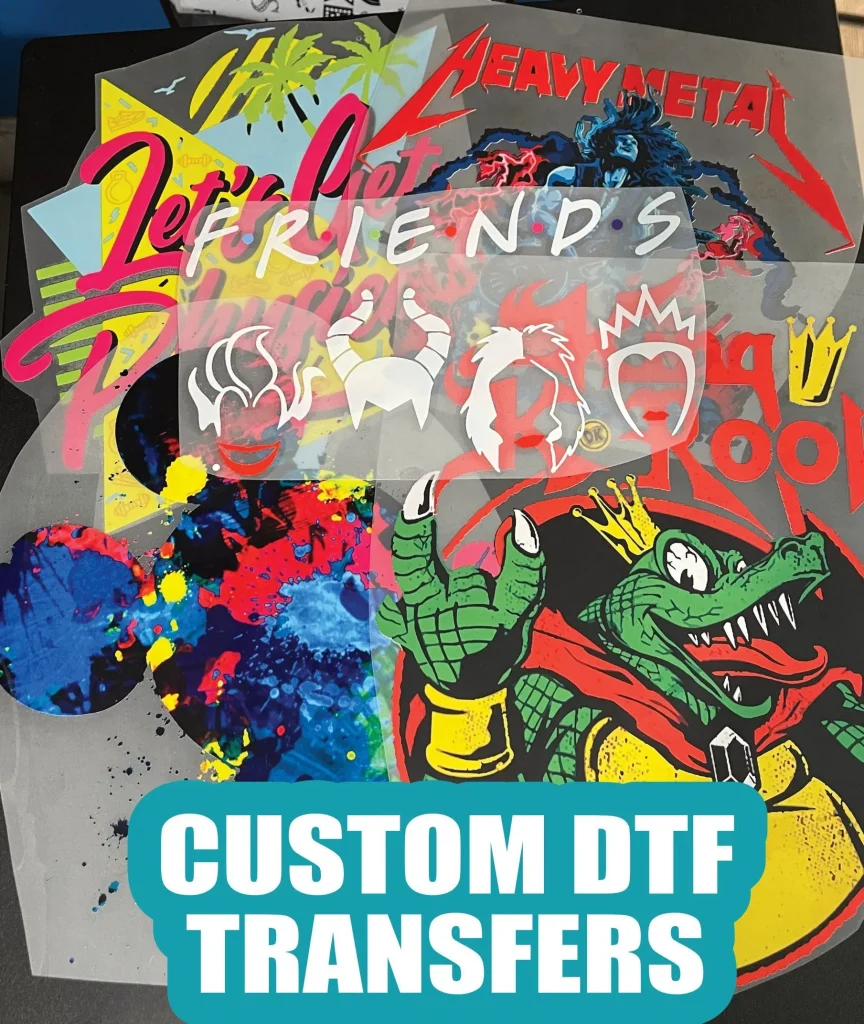
DTF Transfers, known as Direct to Film transfers, have rapidly emerged as a game-changer in the fabric customization scene. This remarkable technique allows users to produce bold and intricate designs directly onto textiles, unleashing a world of creativity for fashion and merchandise. By leveraging the power of DTF printing, anyone can achieve stunning, professional-quality results from the comfort of their home or workshop. From preparing the design on specialized DTF film to the final application with heat transfer vinyl and DTF adhesive powder, each step is crucial for success. Whether you’re a novice or a seasoned expert, this guide will equip you with everything you need to apply DTF transfers with confidence and skill.
Exploring alternatives to DTF Transfers leads us into the innovative realm of Direct to Film printing techniques. This cutting-edge process simplifies the way designs are transferred onto fabric, utilizing special films that hold colors and details with remarkable clarity. DTF printing encompasses various methods that cater to both hobbyists and professionals, with a focus on ease of use and superior durability. In this comprehensive DTF printing guide, we’ll uncover effective strategies to apply DTF transfers seamlessly, ensuring vibrant and lasting impressions on any garment. Join us as we delve into the essentials of this versatile printing method and how to maximize your creativity while utilizing complementary materials like heat transfer vinyl.
Understanding the Basics of DTF Transfers
DTF transfers, or Direct to Film transfers, are an innovative approach that has redefined the fabric printing landscape. Unlike traditional methods like screen printing, which may limit color choices and design complexity, DTF enables creators to print designs directly onto a specialized film, providing an endless array of vibrant colors and intricate details. This method appeals to both hobbyists and professionals because of its capability to adhere well to various fabric types, including cotton, polyester, and blends.
Moreover, DTF transfers are designed to stand the test of time, ensuring that prints remain vibrant even after multiple washes. The film serves as a medium that captures the quality of the print and, when combined with DTF adhesive powder, provides a robust bond with the fabric. This bond grants durability, which is crucial for both casual wear and high-stakes fashion pieces. Understanding the basics of DTF transfers allows users to appreciate the versatility and efficiency of this method vs. alternatives, like heat transfer vinyl.
Frequently Asked Questions
What are DTF transfers and how do they work?
DTF transfers, or Direct to Film transfers, involve printing designs onto a specialized film using DTF inks. After printing, an adhesive powder is applied to the wet ink. The film is then cured and, finally, transferred onto fabric using a heat press, ensuring high-quality, durable designs.
What materials do I need to apply DTF transfers?
To effectively apply DTF transfers, you will need essential materials such as DTF film, a high-quality printer (like Epson), DTF inks, hot-melt DTF adhesive powder, a heat press machine, and the fabric or garment you want to customize.
Can I use DTF transfers on any type of fabric?
Yes, DTF transfers can be applied to a variety of fabrics, including cotton, polyester, and blends. This versatility is one of the reasons DTF printing has gained popularity among crafters and businesses alike.
How do I ensure the best results when using DTF adhesive powder?
To achieve optimal results with DTF adhesive powder, sprinkle it over the wet print immediately after printing and before curing. Shake off any excess powder to prevent clumping, which could affect the transfer quality.
What is the recommended temperature and time for applying DTF transfers with a heat press?
When applying DTF transfers with a heat press, the recommended temperature is typically between 160-180°C for about 15-20 seconds. Adjust the pressure and time based on the specific fabric to ensure a successful transfer.
Are there any tips for achieving successful DTF transfers?
Yes! For a successful DTF transfer, always test on a small fabric sample first, maintain your equipment for consistent printing quality, and pay close attention to temperature settings to avoid damaging the prints.
| Step | Key Points |
|---|---|
| 1. Preparation | Gather materials: DTF film, printer, DTF ink, adhesive powder, heat press, fabric. Create design with graphic software. |
| 2. Printing the Design | Print the design mirrored onto the DTF film. Apply adhesive powder immediately after printing. |
| 3. Curing the Adhesive | Use heat press at 160-180°C for 10-15 seconds to cure adhesive. |
| 4. Heat Transfer Application | Pre-press garment, center DTF film, heat press for 15-20 seconds at appropriate temperature. |
| 5. Peeling and Finishing Touches | Allow cooling, peel film, and reheat for durability. |
| Tips for Success | Test fabrics, maintain equipment, monitor temperature settings for optimal results. |
Summary
DTF Transfers are an innovative solution for those looking to customize fabrics with vibrant artwork and designs. This versatile printing method not only allows for intricate full-color designs but also promotes seamless application on various fabric types. By mastering the step-by-step process outlined, enthusiasts can achieve professional-quality results in their apparel and merchandising projects. The advancement in DTF technology continues to provide options that are durable and eco-friendly, making it a sustainable choice in the crafting and printing industries. Whether you’re a hobbyist or running a small business, diving into DTF Transfers will unlock incredible creative potential.