
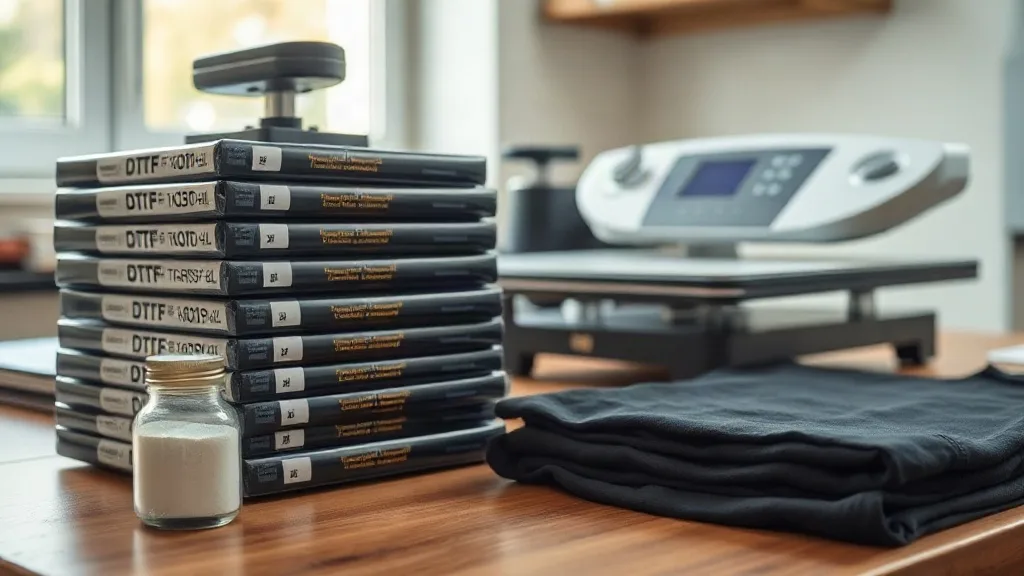
You know the feeling. The press closes, the timer beeps, you peel, and the print looks like it lost a fight with a cheese grater. Or worse, it looks perfect until the first wash. Most DTF operators blame the press settings, but the real culprit usually shows up earlier, in the quiet minutes between printing the film and loading the shirt. A solid pre-press routine catches those problems while they are still cheap to fix. This guide walks through the checks that matter, in the order they matter, so you can stop gambling on every dtf transfers job.
Why Pre-Press Beats Post-Press Fixes
Once a dtf transfer has been pressed onto a garment, your options shrink fast. You can re-press, but you cannot un-cure adhesive that has already bonded wrong. You can try to peel and reapply, but the carrier film is usually done for. The smart move is to catch defects before the press cycle starts. That means inspecting the film, checking the powder cure, verifying the fabric, and confirming your press is actually at temperature. Each step takes seconds. Skipping them costs minutes and materials.
This is not about being paranoid. It is about building a habit. Shops that run consistent dtf transfers day after day do not have better luck. They have better checkpoints. The checklist below is the one I wish someone had handed me when I started, because it would have saved a stack of ruined blanks and a few embarrassing customer conversations.
Step 1: Inspect the Printed Film Before Anything Else
The film is your first warning system. Hold it up to a light source and look for pinholes, missing ink in fine details, or uneven white laydown. Small gaps in the white layer are easy to miss on a busy design, but they turn into visible fabric show-through after pressing. If you see them, reprint. A few inches of wasted film is cheaper than a rejected shirt.
Also check the edges of the print. Curling or lifting film near the border means the powder did not adhere evenly. That edge will likely fail first in the wash. If the film feels tacky in spots, the powder layer is inconsistent. Set it aside and figure out why before you press it.
Check the Powder Cure
Properly cured powder looks matte and slightly textured, not glossy or wet. Run a finger gently across the powdered side. It should feel dry and slightly rough, like fine sandpaper. If it smears or feels sticky, the powder is undercured. Pressing an undercured transfer is one of the most common causes of adhesion failure, and it will not show up until the customer washes the garment. A quick touch test here saves a lot of returns later.
Step 2: Match the Transfer to the Fabric
Not every blank behaves the same way under heat. Cotton holds up well, but it can scorch if you push temperature too high. Polyester is more heat-sensitive and can shrink or glaze if you are not careful. Blends fall somewhere in between and often need a slightly lower temperature with a bit more pressure to get good contact. Before you press, confirm what you are working with. If the care label is missing, do a test press on an inconspicuous area or a scrap piece of the same fabric.
Fabric thickness matters too. Heavyweight fleece and canvas need more pressure and sometimes a longer dwell time to let the adhesive penetrate the weave. Lightweight performance fabrics need less heat and a gentler touch. Adjusting your settings to the fabric, not just the transfer, is the difference between a print that lasts and one that peels at the first stretch.
Pre-Press the Garment
Moisture is the enemy of adhesion. Even fabrics that feel dry can hold enough humidity to interfere with the bond. A quick pre-press of five to ten seconds removes surface moisture and flattens wrinkles that would otherwise create uneven pressure. This step is especially important in humid climates or if your blanks have been sitting in storage. Do not skip it because it feels redundant. It is one of the highest-value habits you can build.
Step 3: Verify Your Press Is Actually Ready
Digital controllers lie more often than you would think. The display says 320°F, but the platen might be 20 degrees cooler. Use an infrared thermometer or a press thermometer to check the actual surface temperature before your first job of the day. If there is a gap, give the press time to stabilize. Rushing this step is how you end up with inconsistent results across a batch of dtf transfers.
Pressure is the other variable that drifts. Check that the press closes evenly and that the pressure feels consistent across the platen. A quick test with a piece of paper or a pressure gauge can reveal uneven spots. If one side is tighter than the other, adjust before you press anything valuable.
Step 4: Position and Secure the Transfer
Placement errors are permanent. Measure twice, press once. Use a ruler or a placement guide to center the design, and consider marking the garment with a small piece of tape or chalk if you are doing multiple pieces. Heat tape can hold the transfer in place, but be careful with delicate fabrics. On those, use a light touch and remove the tape slowly after pressing to avoid pulling fibers.
Make sure the transfer is flat and free of wrinkles. A folded corner or a trapped air bubble will create a visible defect that cannot be fixed later. Smooth the film from the center outward before you close the press.
Step 5: The Press Cycle and Peel
Follow the transfer supplier's recommended settings as a starting point, then adjust for your specific fabric and press. Typical ranges are 300 to 320°F for 10 to 15 seconds with medium to firm pressure, but these are guidelines, not laws. The peel method matters too. Cold peel is more forgiving for detailed designs, while hot peel can work for simpler graphics. Whichever you use, be consistent. Changing peel methods mid-batch introduces variables you do not need.
After peeling, inspect the print immediately. Look for edges that lift, areas that look cloudy, or fine lines that did not transfer. If you catch these now, you can sometimes re-press with a Teflon sheet to salvage the job. If you wait until the shirt is folded and bagged, you have lost the chance.
Frequently Asked Questions
How do I find reliable dtf transfers near me?
Start by asking local print shops and apparel decorators who they use. Online communities for garment printers are also useful, because people share real experiences with suppliers. When you find a candidate, order a small sample and run it through your own press and wash tests before committing to a larger order. Local pickup can save time, but do not sacrifice quality for convenience.
Can I press DTF transfers onto 100% polyester without damaging the fabric?
Yes, but you need to manage heat carefully. Use a lower temperature, around 290 to 300°F, and a shorter dwell time. Pre-press the garment to remove moisture, and use a Teflon sheet or protective paper to prevent glazing. Always test on a scrap piece first, because some polyester finishes are more sensitive than others.
Why do my DTF transfers crack after washing even though they looked fine after pressing?
Cracking usually points to undercured powder, insufficient pressure during pressing, or washing in hot water. Make sure the powder is fully melted and matte before pressing, use firm pressure, and follow the care instructions. Turning the garment inside out and washing in cold water extends the life of any dtf print.
How long should I pre-press a shirt before applying a DTF transfer?
Five to ten seconds is usually enough to remove surface moisture and flatten wrinkles. For heavy fabrics or humid conditions, extend it slightly. The goal is a dry, smooth surface, not a scorched one.
What is the best way to store DTF transfers before use?
Keep them in a cool, dry place away from direct sunlight. Humidity is the main enemy, so avoid storing them in damp basements or near heat sources. A sealed bag or a dry box works well. Use them within a reasonable timeframe, and always inspect before pressing.