
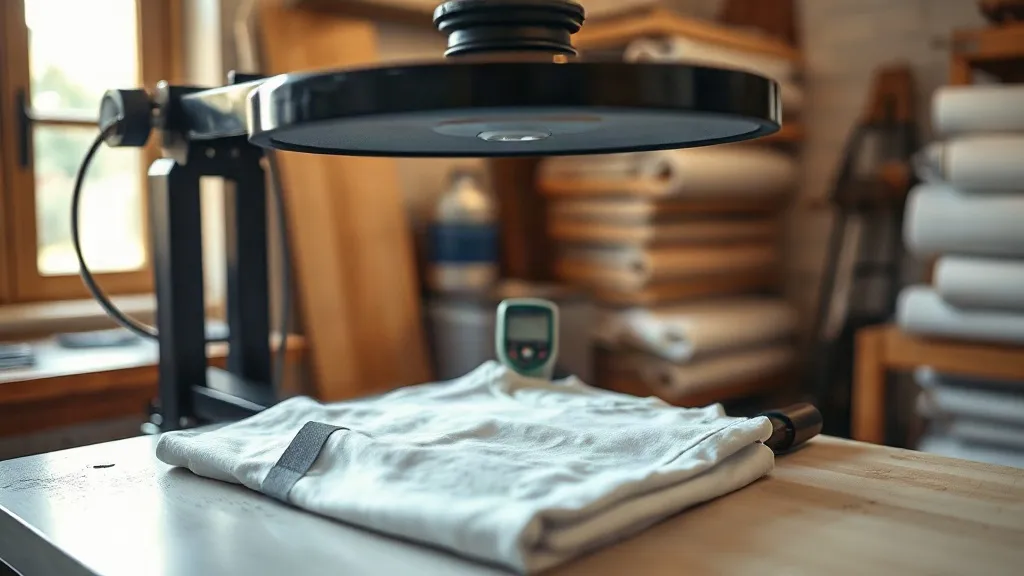
You pulled the shirt off the platen, peeled the film, and watched half the design stay behind on the carrier sheet. Or the print stuck fine but the edges curl after the first wash. Either way, the instinct is to blame the film, the powder, or the ink batch. In my experience running a small shop, that is almost never where the problem lives. Nine times out of ten, a failed dtf transfers application traces back to the press itself: pressure that is uneven, a platen that is not actually at the temperature the display claims, or a peel that happens a few seconds too early.
This guide is about fixing those press problems with a repeatable diagnostic routine. No new equipment required. Just a notebook, a scrap shirt, and the willingness to test one variable at a time.
Start With the Press, Not the Print
Before you touch a single design file, confirm the machine is doing what it says. Heat press controllers drift. A press that read 320°F last spring might be running 15 degrees cool today, and that difference is enough to leave adhesive undercured while the top of the print looks fine.
Check actual platen temperature
Use an infrared thermometer or, better, a contact probe laid flat on the platen under light pressure. Let the press stabilize for at least ten minutes after it reaches its set point. Record the reading. If the probe says 305°F when the display says 320°F, you have found your culprit for weak adhesion and patchy whites in one step.
Check pressure balance across the platen
Close the press on a strip of carbon paper over a plain sheet of paper, one strip at each corner and one in the middle. The transfer marks should be equally dark everywhere. If one corner is faint, the upper platen is not level. Most presses have an adjustment screw or shim kit for this. A press that is out of level will produce prints that look perfect on one side of the garment and peel on the other, which is a maddening problem to chase without this test.
The Three Variables You Can Actually Control
Once the machine is verified, every application problem comes down to three settings. Change one at a time and keep notes, because the combinations matter more than any single number.
Temperature
Most dtf films want a platen in the 300°F to 330°F range, but the film manufacturer's spec sheet is the authority, not a forum post. Too cool and the adhesive never fully activates, so the print sits on the surface and flakes. Too hot and the film can wrinkle or the carrier can bond to the garment in ways that make peeling difficult and leave a visible edge.
Pressure
Medium pressure is the usual recommendation, but medium is a feeling, not a number. A practical benchmark: you should be able to close the press with firm hand resistance, and the garment should show a light, even compaction where the platen met it. Heavy pressure squeezes adhesive out past the design edges, creating a halo of residue. Light pressure leaves air pockets that show up as pinholes in the white layer.
Time and peel
Ten to fifteen seconds is typical, but the peel method matters just as much. Cold peel films need the shirt to cool for several seconds before you lift the carrier. Warm peel films want the carrier removed while the garment is still hot. Mixing these up is one of the most common reasons a print that looked great on the platen fails at the peel. Write the peel type on the storage bag of every roll so nobody has to guess.
A Diagnostic Routine That Finds the Fault Fast
When a print fails, resist the urge to change four settings at once. Run this sequence instead.
- Press a test print on the actual garment. Not a scrap of the same color, the same fabric blend and weight. A 100% cotton test tells you nothing about how a 50/50 blend will behave.
- Peel slowly and watch where the failure starts. If the design lifts from the center, suspect pressure or time. If it lifts from the edges, suspect temperature or an unlevel platen.
- Check the back of the peeled film. Adhesive still clinging to the carrier means undercuring. Adhesive that looks scorched or glossy means too much heat.
- Wash the test piece. A print that survives the peel but fails after one wash usually has an adhesion problem, not a transfer problem. Wash inside out, warm water, and inspect the edges.
Keep a log of garment type, film brand, temperature, pressure setting, time, and peel method for every test. After a dozen entries you will start seeing patterns that no generic guide can give you, because they are specific to your press and your climate.
When the Problem Is the Garment, Not the Press
Some fabrics simply fight the process. Heavy canvas and tightly woven denim need more pressure and a few extra seconds to let heat penetrate the weave. Moisture-wicking polyesters with a slick finish can reject adhesive unless you pre-press for a few seconds to drive off surface moisture and relax the fibers. And any garment with a water repellent finish needs a longer pre-press, sometimes two passes, or the print will sit on top of the coating and peel within a week.
If you are sourcing blanks and want to compare options before committing to a bulk order, it helps to know what you are buying. Shops that order dtf transfers near me locally often do so precisely because they can test a single sheet on a new garment before scaling up, which is a smart habit regardless of where you buy.
Preventing Repeat Failures
The real fix is documentation. Tape a small card to the press listing the verified temperature, the pressure benchmark, and the peel method for each film you stock. Train anyone who touches the press on the corner test and the carbon paper check, and make it a weekly routine rather than a reaction to a ruined order. A five minute check on Monday morning saves hours of reprints on Friday afternoon.
Store film flat, away from humidity, and keep the carrier sheets clean. Dust and lint on the film surface transfer directly into the print and create weak spots that fail at exactly the wrong moment. And when you do get a failure, keep the failed piece. Comparing a failed peel against a good one side by side is the fastest way to build the kind of judgment that turns a frustrating process into a reliable one.
Frequently Asked Questions
Why does my DTF print peel off after the first wash even though it looked fine on the shirt?
This usually points to undercuring. The adhesive bonded to the surface fibers but never fully melted into them, so a wash cycle lifts it. Verify your actual platen temperature with a probe, add a few seconds to the press time, and confirm you are using the correct peel method for that film. Also check that the garment was pre-pressed to remove moisture.
How do I know if my heat press pressure is too high?
Look for a visible halo of residue around the design edges, flattened or shiny fabric texture under the print, and carrier sheets that are hard to peel because they have bonded to the garment. If you see any of these, back the pressure down one notch and re-test on the same fabric.
Can I use the same press settings for every fabric?
No, and trying to is the source of most inconsistent results. Cotton, poly blends, and coated performance fabrics all respond differently to heat and pressure. Build a small settings card per fabric family, test on the actual garment, and update the card whenever you switch film brands.
What causes pinholes or patchy white areas in a DTF transfer?
Pinholes typically come from insufficient pressure or air trapped between the film and the fabric. Patchy whites can also indicate uneven platen temperature or a film that absorbed humidity in storage. Run the carbon paper pressure test, verify temperature across the platen, and store film in a dry, flat location.