
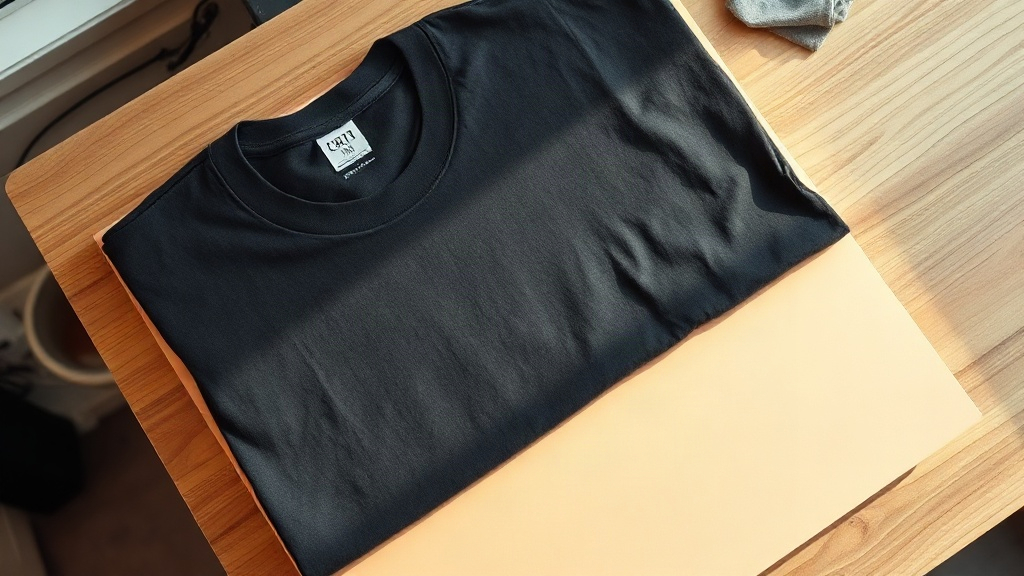
Most heat press disasters with DTF transfers do not start with bad film. They start with a blank the operator never actually tested. Two garment lines come up constantly in shops that print for streetwear and uniform clients: Shaka Wear and Smart Blanks. Both are affordable, both are widely available, and both behave differently under a press than the generic tee someone used for their first practice run. If you decorate either one without adjusting your process, you can get a print that looks flawless on day one and starts cracking by the third wash.
This guide is built from the kind of trial and error that only shows up after you have pressed a few hundred shirts: which settings hold, which fabrics fight back, and how to test a new batch before it becomes a customer complaint.
Why Fabric Choice Matters More Than Film Choice
DTF film is forgiving. The adhesive layer bonds to a wide range of materials, which is why the method has become a favorite for cotton, blends, and even some synthetics. The variable is the garment underneath. Fabric weight, dye content, weave density, and the amount of stretch all influence how the transfer sits and how long it stays put.
Shaka Wear is known for heavyweight, boxy tees with a substantial hand feel. That density is great for structure, but it also means heat has to travel further before the adhesive reaches its bonding temperature. Smart Blanks, by contrast, tends to run lighter and softer, with a smoother surface that can accept a transfer quickly. The same press setting that works on one can under-cure the other.
Rather than memorizing one universal recipe, learn to read the blank. A heavyweight tee needs more dwell time or slightly higher pressure. A lighter, softer tee needs less heat to avoid scorching and less pressure to avoid flattening the print into the fabric.
Press Settings That Actually Work
Start with a baseline and adjust from there. For a standard DTF transfer on either garment line, a common starting point is 160°C to 165°C (320°F to 330°F), medium to firm pressure, and 12 to 15 seconds of press time. Peel while warm for most films, though some manufacturers specify cold peel, so always check the film datasheet first.
Adjusting for Shaka Wear
Heavyweight cotton holds heat well once it gets there, but it takes longer to absorb. Add 2 to 3 seconds of dwell time and consider a pre-press of 3 to 5 seconds to drive out moisture. Moisture is the silent enemy here: a damp heavyweight tee will trap steam under the transfer and create bubbles or a cloudy finish.
Adjusting for Smart Blanks
Lighter fabric reaches temperature fast, which means you can often reduce dwell time slightly and lower pressure. Too much pressure on a softer tee can push the adhesive into the weave and leave a visible outline around the design, sometimes called a halo or ghosting effect.
Pre-Pressing Is Not Optional
Skipping the pre-press is the single most common shortcut that costs people money. Fabric straight out of a poly bag holds moisture, and in humid climates that moisture can be significant. A 3 to 5 second pre-press at the same temperature removes it and also relaxes wrinkles that would otherwise telegraph through the print.
On Shaka Wear tees, pre-pressing also helps settle the heavy knit so the transfer adheres evenly across the whole design. On Smart Blanks, it prevents the steam pockets that cause small silver marks after peeling.
Testing Before You Commit to a Full Run
Never press an entire order before you have washed one sample. A wash test takes a few days, but it saves a rerun. Here is a simple process that has caught more problems than any press gauge:
- Press one shirt from the batch using your intended settings.
- Let it rest for 24 hours so the adhesive fully cures.
- Wash it inside out in cold water with a normal load of laundry.
- Tumble dry low, or hang dry if your client prefers.
- Repeat three times, inspecting the edges after each cycle.
If the edges lift, your pressure was too low or your dwell time too short. If the print feels stiff or the fabric around it looks scorched, your temperature was too high. If you see a faint outline, your pressure was too high for that fabric weight.
Common Failures and What They Mean
- Peeling edges after washing: under-cured adhesive, usually from insufficient dwell time on heavyweight fabric.
- Cracking across the design: too much stretch in the garment combined with a thick ink layer, common when a large solid print is applied to a lightweight tee.
- Yellow or brown scorch marks: temperature too high, or the press was left sitting on the garment between cycles.
- Cloudy or milky finish: trapped moisture from a skipped pre-press.
- Ghost outline around the transfer: excessive pressure pushing adhesive into the weave.
Each of these has a specific cause, and each is fixable once you know which variable to change. The mistake is changing three settings at once and never learning which one mattered.
Getting Consistent Results Across Batches
Garment manufacturing is not perfectly uniform. Dye lots shift, and fabric weight can vary slightly between production runs. If you print the same design for a client every few months, re-test on the new batch rather than assuming the old settings still apply.
For shops printing on Shaka Wear and Smart Blanks regularly, a simple log works wonders. Record the garment style, the press temperature, the dwell time, the pressure setting, and the wash test result. After a few months you will have a reference chart that removes guesswork and speeds up onboarding for anyone new on the press.
Frequently Asked Questions
Do DTF transfers work on both Shaka Wear and Smart Blanks?
Yes. Both are cotton or cotton-blend garments, and DTF adhesive bonds well to cotton. The difference is in the settings. Heavier fabric needs more dwell time and pressure, while lighter fabric needs less of both to avoid scorching and ghosting.
What temperature should I use for a heavyweight Shaka Wear tee?
Start around 160°C to 165°C with medium to firm pressure and 14 to 17 seconds of dwell time. Pre-press for 3 to 5 seconds first to remove moisture. If edges lift after washing, add 2 seconds rather than raising the temperature.
Can I stretch a DTF print on a lightweight Smart Blanks tee?
You can, but large solid designs will crack faster on stretchy, lightweight fabric. Keep the ink layer reasonable, avoid oversized solid blocks of color, and always wash inside out in cold water to extend the print life.
How long should I wait before washing a DTF-printed shirt?
Wait at least 24 hours after pressing. The adhesive continues to set during that window, and washing too soon can weaken the bond before it has fully cured.
Why does my transfer look cloudy right after peeling?
That cloudiness almost always means moisture was trapped under the film. Pre-press the garment for a few seconds before applying the transfer, and store blanks in a dry area rather than a humid corner of the shop.